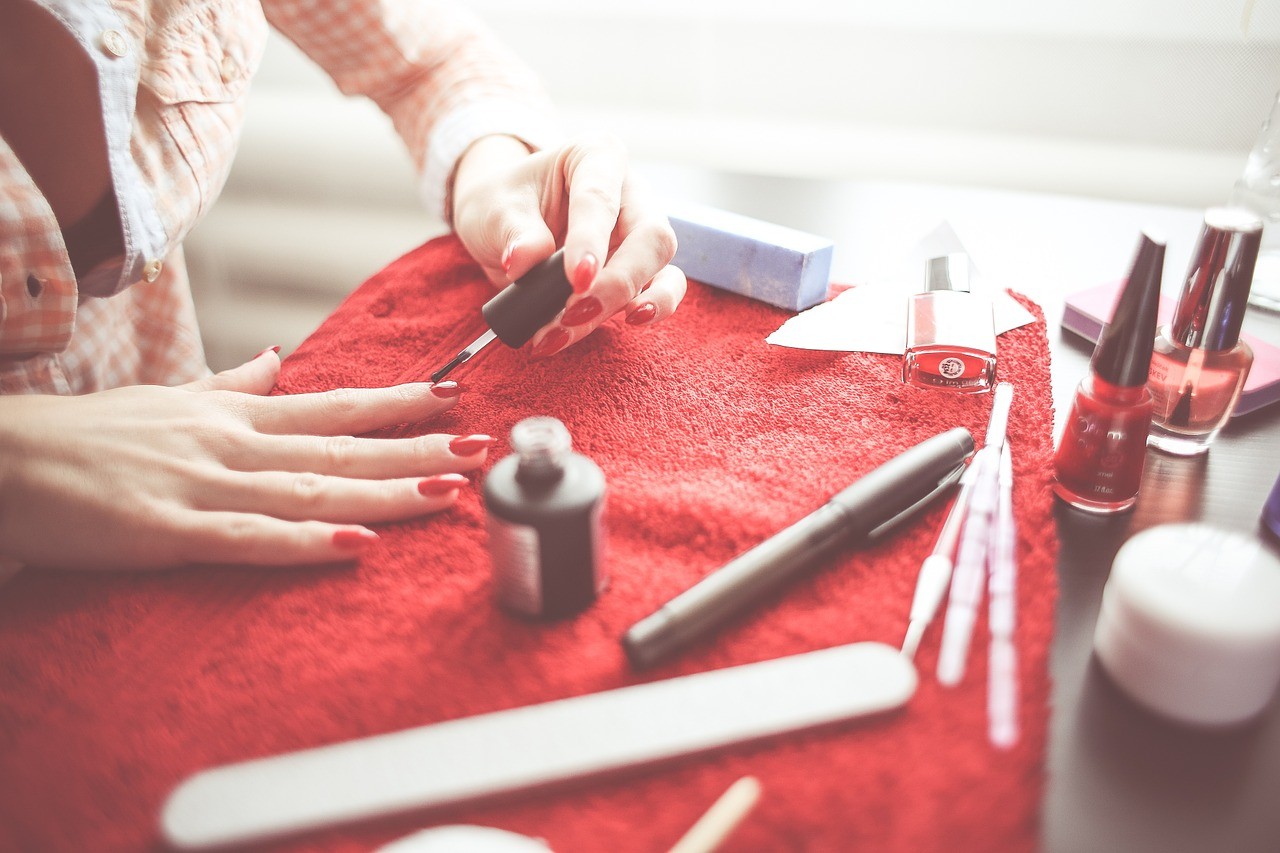
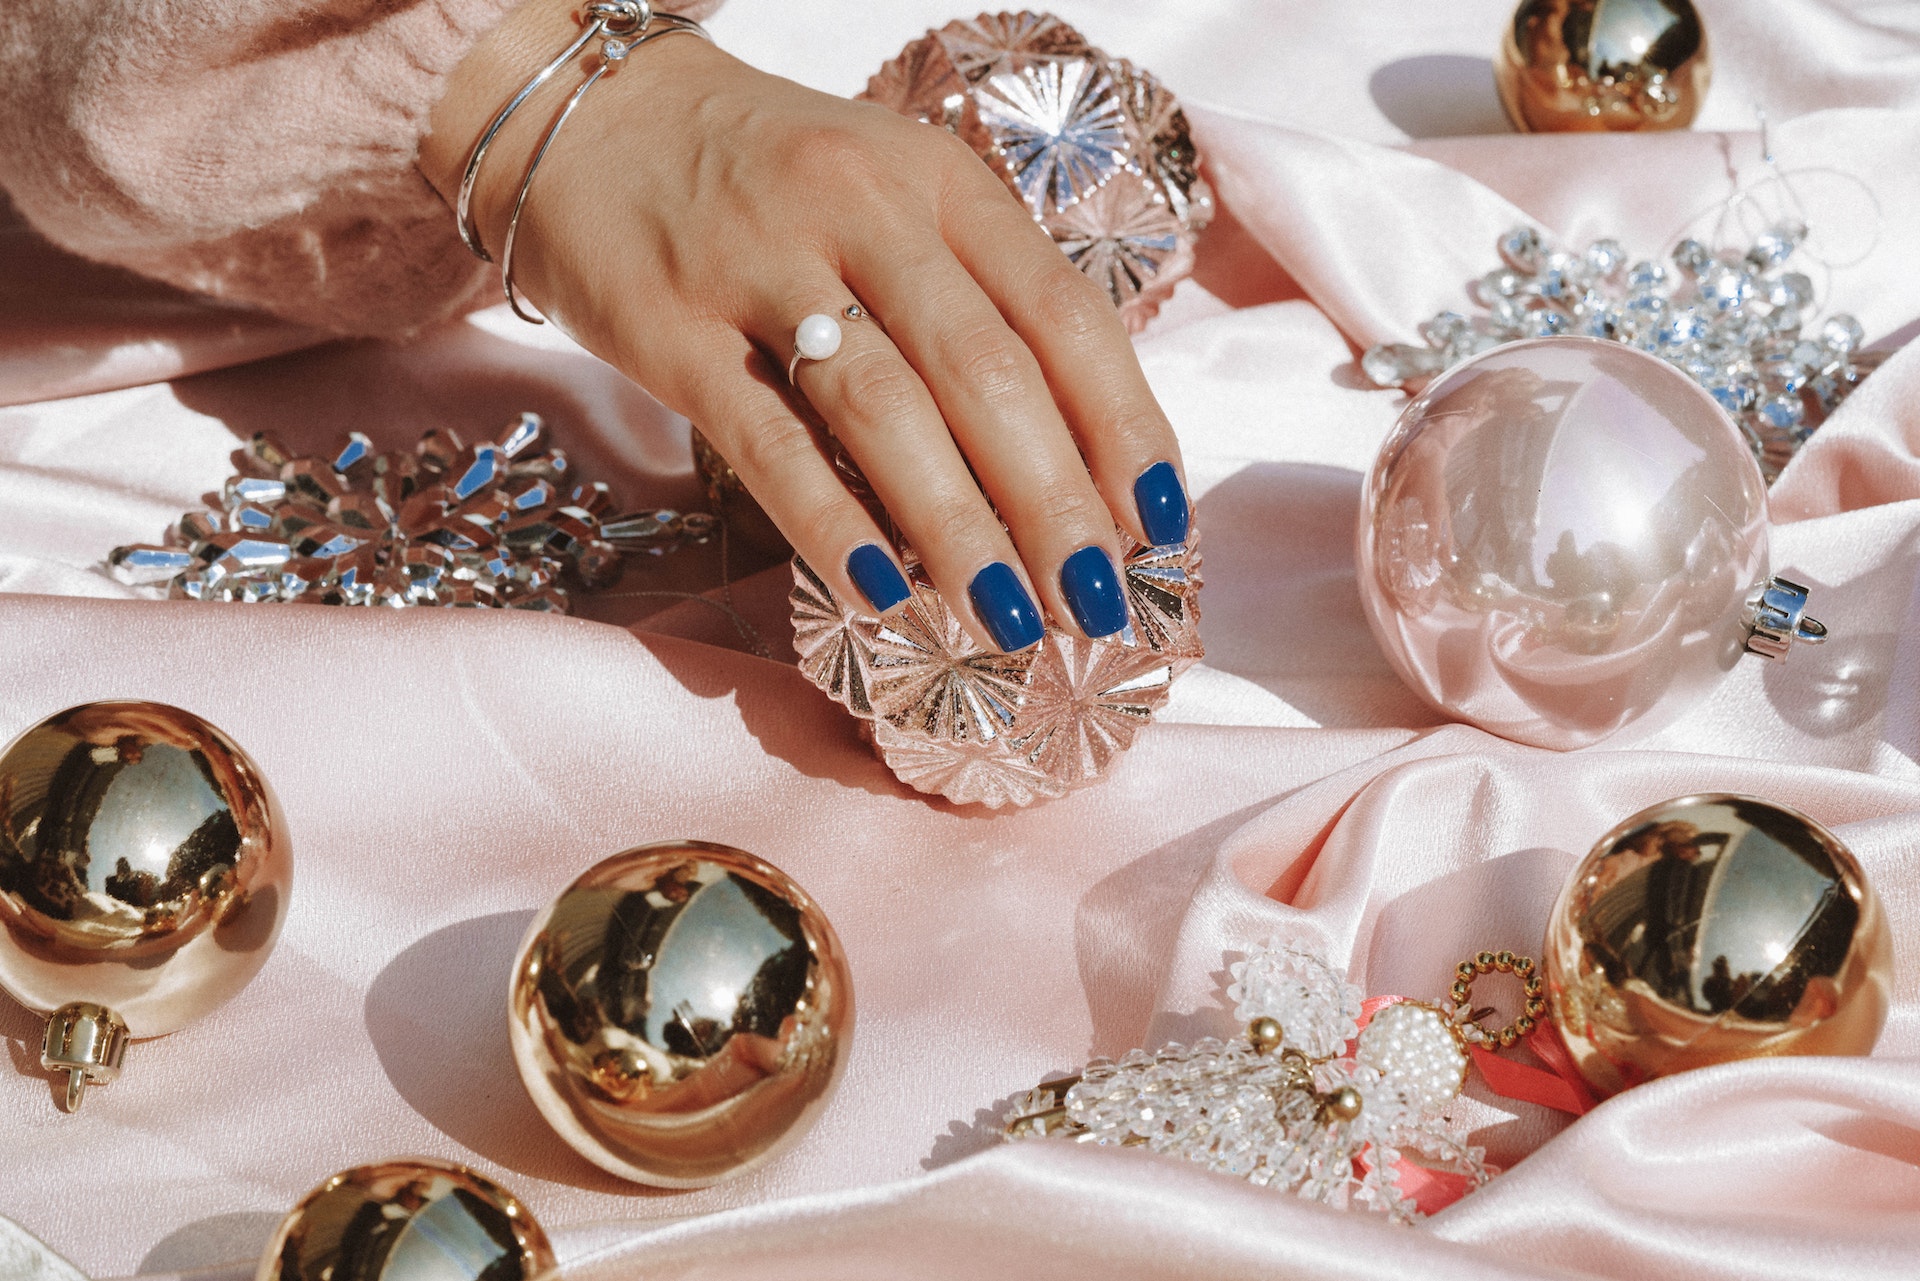
Like taking the extra time to style your hair or choosing a pair of socks that matches your shirt, paying attention to the look of your nails is a great way to upgrade your everyday outfit into something extra special. Though people have been painting their nails since as early as 3000 BC, the practice is still evolving even now, with new trends for nail art emerging on sites like Instagram every single day.
However, unless you have the money to shell out for a professional nail technician or the patience and steady hands of a miniaturist, you may find the increasingly complex looks people are sporting on the ends of their fingers slightly daunting. With this in mind, here’s how to achieve a great nail art look, only without sacrificing your whole afternoon.
Keep It Simple!
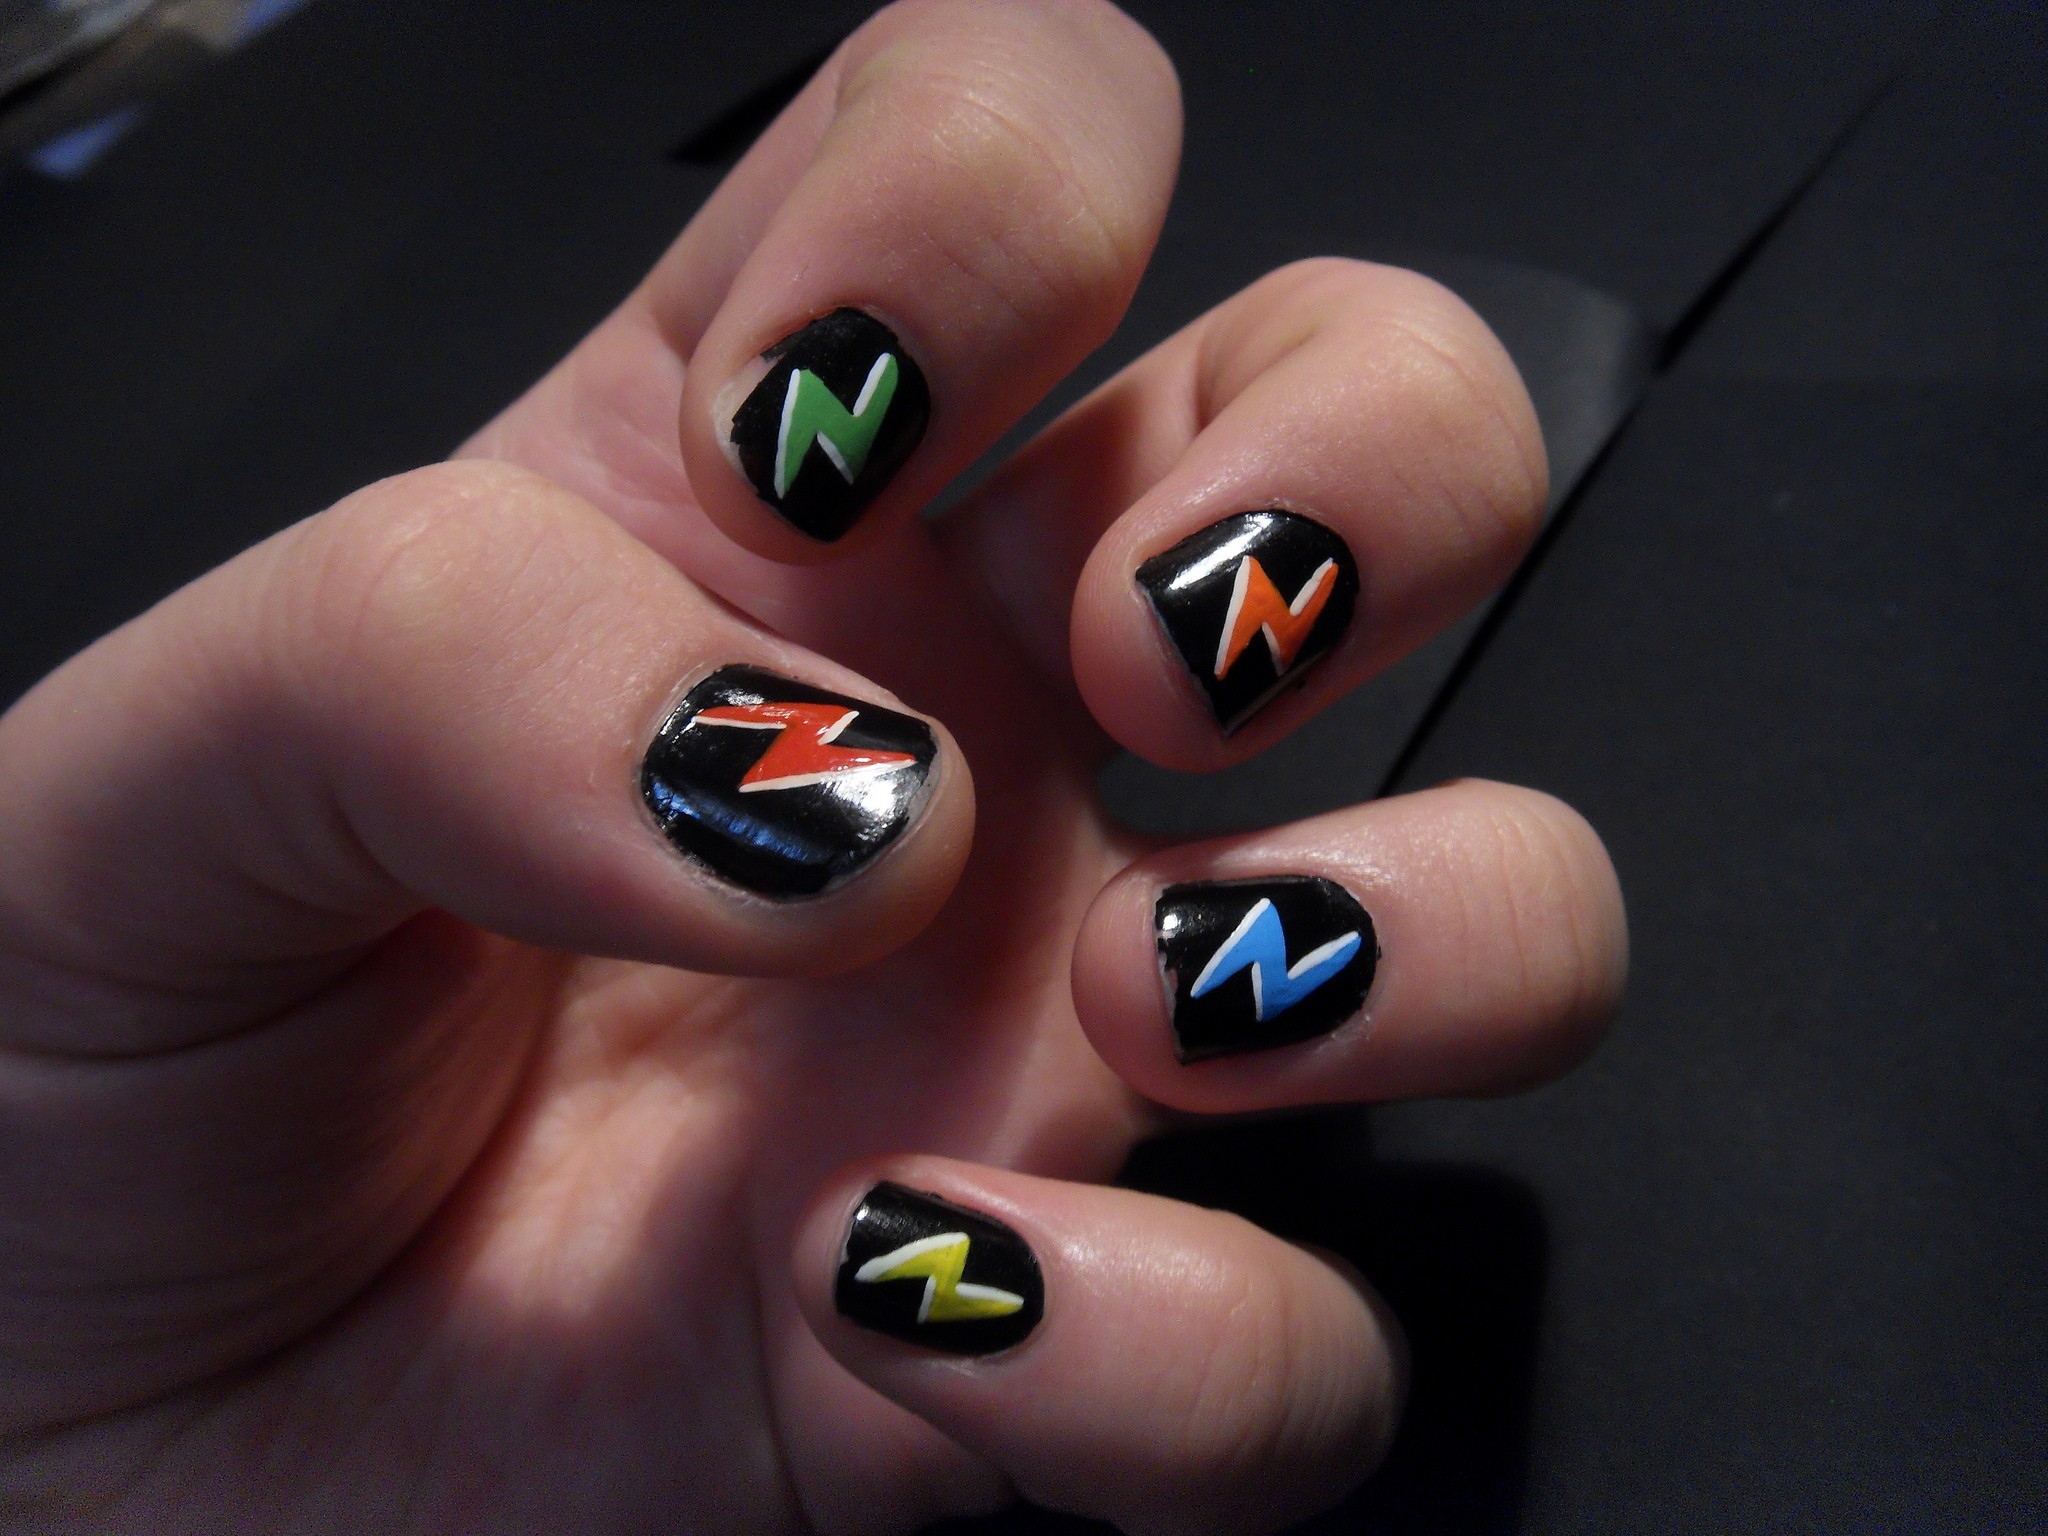
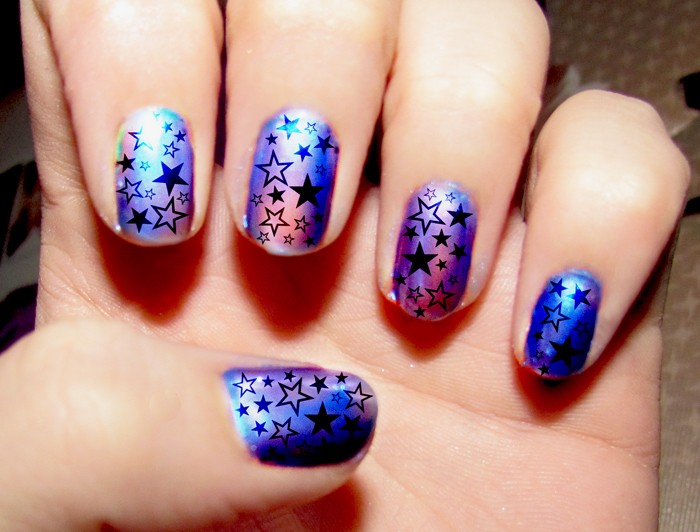
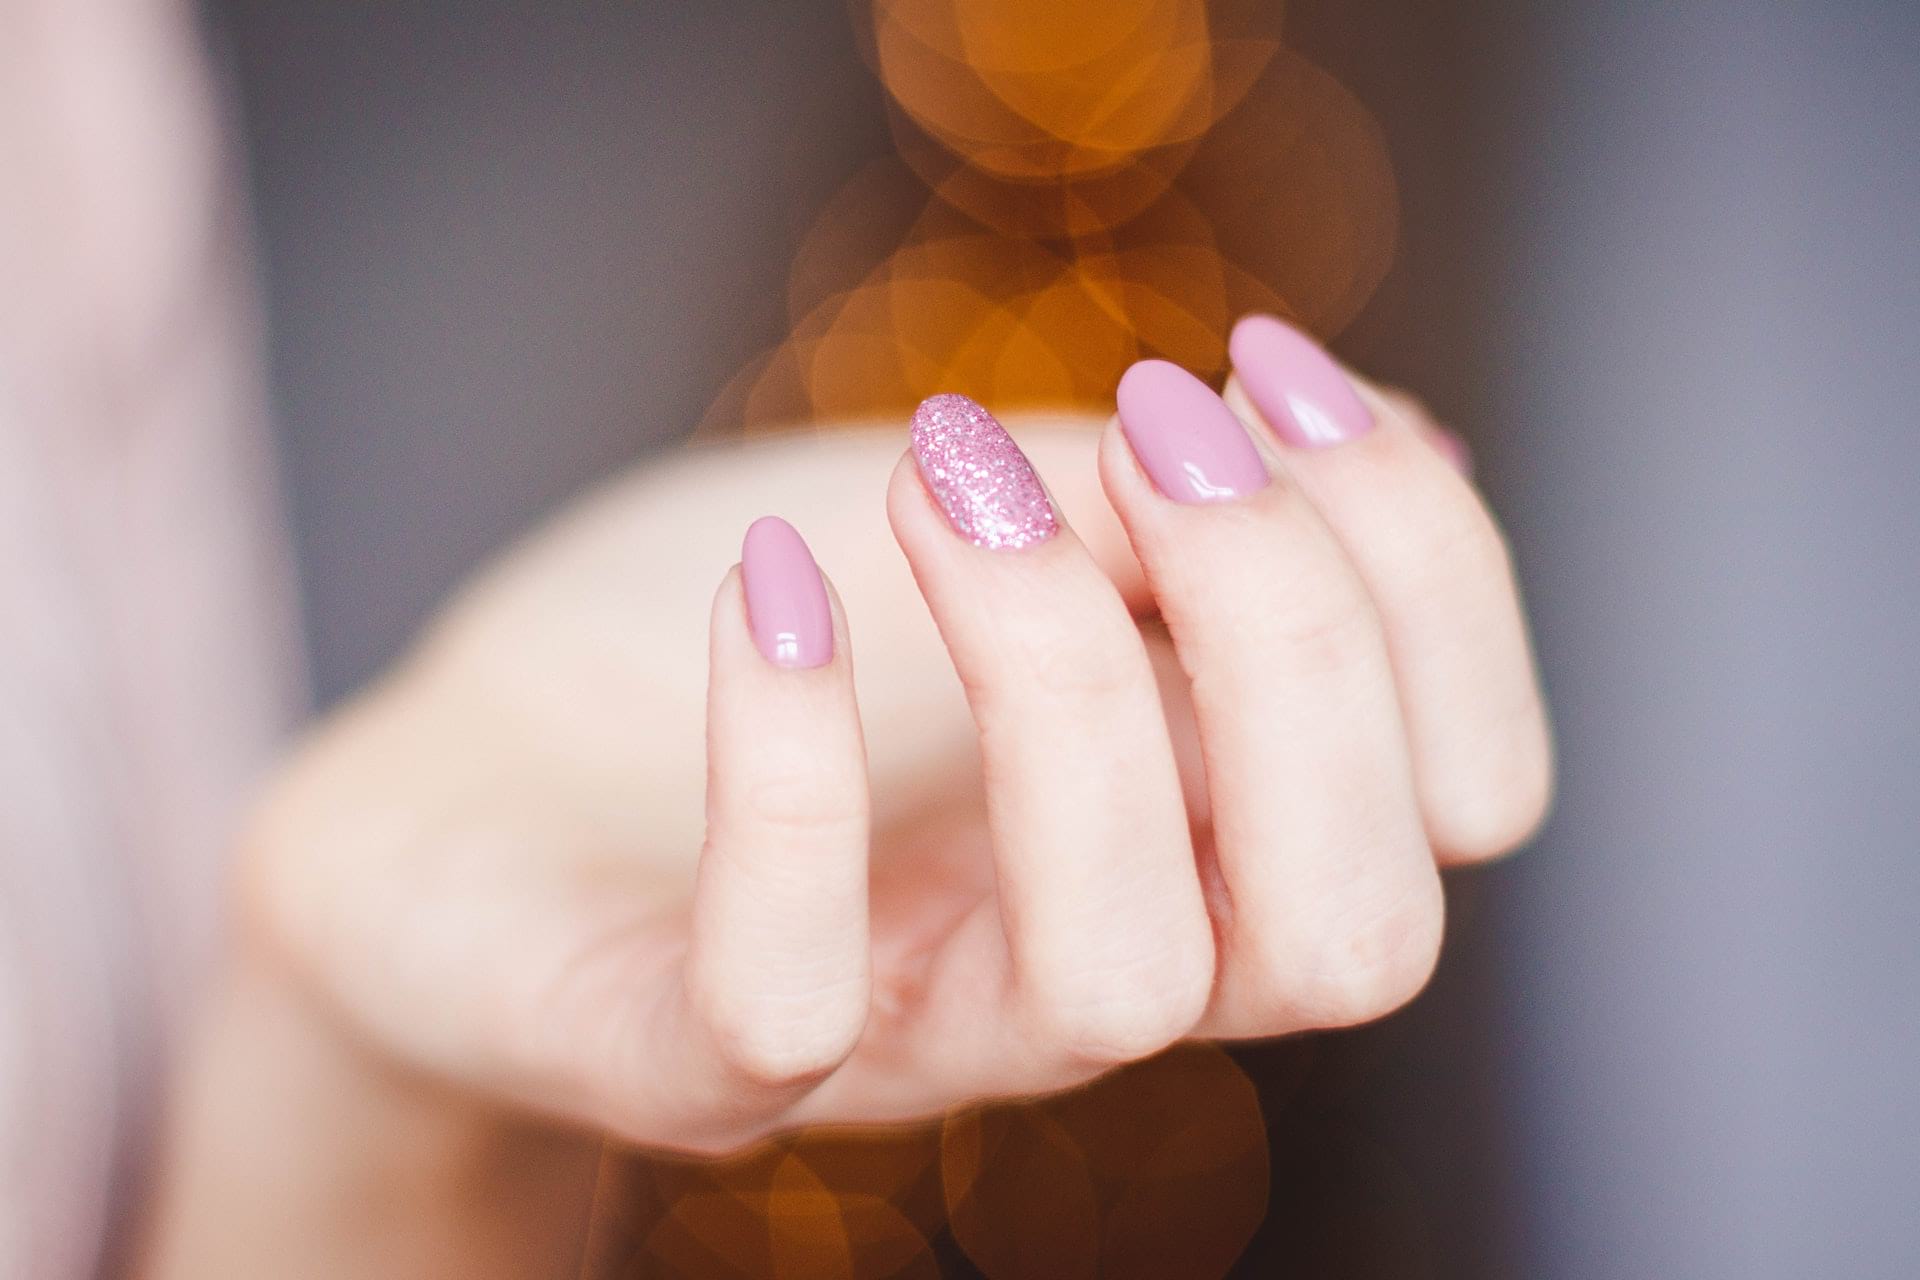
The best way to avoid making a huge mess is to keep your nail design as simple as possible, especially when you’re just starting out. While it may be tempting to try to replicate the intricate designs you see on Pinterest, often a simple two-tone look is far more effective and striking.
Currently extremely popular are ombre nails, which you can create by applying two nail polishes in overlapping swathes on a sponge and then dabbing it onto the nail. If you are set on a themed look, try to find a design that is simplistic and doesn’t utilise too many colours. A great example is cartoon ghost nails for Halloween, a red and white French manicure design for Christmas or, if you’re a roulette junkie who likes to spin all the time, alternating red and black nails with your lucky numbers written on.
Invest in The Right Tools
While a good workman shouldn’t blame his tools, you’re also unlikely to get very far without them. No one’s hand is perfectly steady so consider investing in tape to help you get your lines neat and straight – something essential for a polished look, particularly if you’re opting for a simpler design. While many companies sell special tape for nail art, including decorative stencils with miniature designs, you can also use the adhesive reinforcement rings normally used on paper to create a simple crescent.
Another essential item for your nail art kit is glue, not to put on your nails but to go around them! Apply PVA glue around the nail bed and let it dry before you paint your nails. Then, when you’re done, you can simply peel it off to remove any mess on your cuticles or skin.
For fine details, such as the numbers mentioned in the roulette design above, consider investing in a Sharpie or other similar marker. While many people like to paint small designs on using toothpicks and similar tools, you’re likely to be more accurate with a pen and can buy a marker in a wide variety of attractive colors such as metallic gold.
Or Improvise Your Own
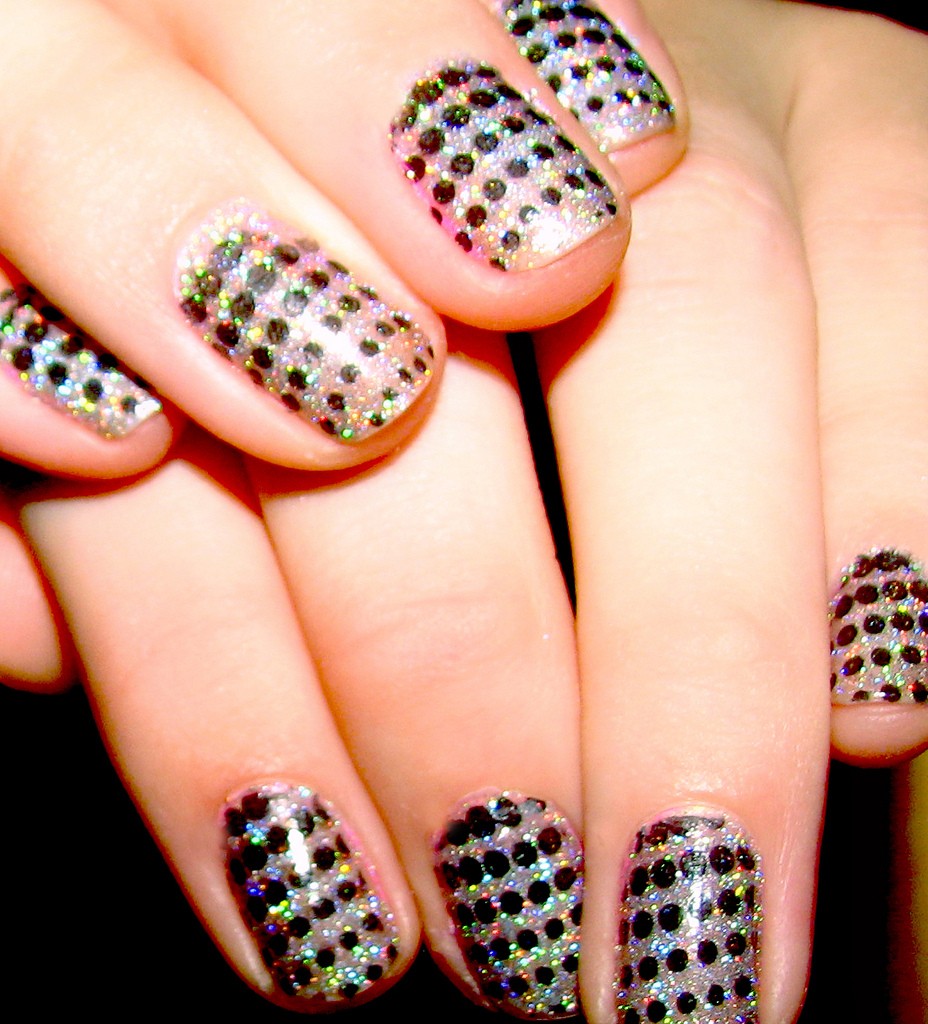
Good nails don’t necessarily require speciality equipment, though, and you may find you already have everything you need in your own home. In addition to toothpicks, many amateur nail artists use tools like bobby pins to create a uniform polka dot design. You can also paint through some tools like a stencil to get an easy but attractive look – one common option is to paint over a loofah to create a scale-like effect.
Don’t even have the right colour nail polish? You’re still in luck! With some determined mixing, you can improvise a matte nail polish, something that appeared frequently on the S/S18 catwalks, using crushed up eyeshadow in your chosen colour and a little bit of topcoat.
So there you have it! There is officially no excuse, regardless of what skills or equipment you lack, not to have gorgeous nails this year.
Related Posts
 Getting Clever with Nail-decorFor any well-executed ensemble, every fashionista knows that glamour is from “head” to “toe.” Whether you are blowing a kiss or fishing for your ID, your fingernails leave an everlasting impression. So get adventurous and try one of these seven ideas this spring! Posted in Beauty & Hair
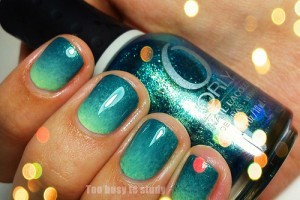 Different techniques of getting a fabulous ombre nail art at homeAn ombre nail art known as a form of manicure where in an ascent effect is created with a graduated fading colour method. It is easy and fairly simple procedure that requires both practice and patience. Take your time and get it perfect, slow and steady wins the race! Just follow these […] Posted in Beauty & Hair
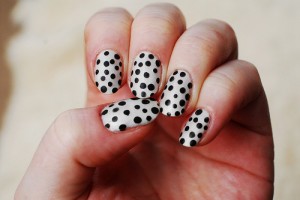 14 Chic Nail Ideas To Copy From 2015 Fashion WeeksHere are 14 ideas to take you from Thanksgiving to New Year's Eve in style. These nails look really intricate, but they are actually quite easy to recreate. See pictures and get inspired with Winter 2015 nail art designs we can't wait to try. Posted in Beauty & Hair
 Nail Trend: Half-Moon ManicureHalf-moon manicure, often called a "reverse French mani" has been popularised by Christian Dior, Thakoon and Ruffian as a Fall 2009 nail trend. Ever since, half moon manicures have been popping up all over on the red carpet as well as the runways. For Spring 2014, Ruffian debuted an […] Posted in Beauty & Hair
 The Best Nail Polish Colours For FallWhat are the latest nail trends for fall? Basically, this season designers bet on a typical autumnal colour palette. There is a royal gold, sophisticated burgundy, deep violet, mysterious navy and a smudgy silver. Ladies, may I present the best nail polish colours of the season. Posted in Beauty & Hair
 The Best Nail Polish Colours For SummerWhat are the latest nail trends for summer? Ornate or crazy manicures are impressive, but at the end of the day, simplicity of a perfectly lacquered nail wins. Express yourself with a freshly polished manicure in the on-trend colour: tangerine tango, milky peach, pink-red, nude and pastel. Posted in Beauty & Hair